Latest content
Explore and discover our latest tutorials
Tech Articles from your friends at Oracle and the developer community.
This tutorial shows how straightforward it is to set up an Oracle Cloud Infrastructure Compute VM and create a Python Flask “hello world” application.
Here are the high-level steps:
To successfully perform this tutorial, you must have an Oracle Cloud account. If you don’t have one, you can sign up for the Oracle Cloud Infrastructure Free Tier.
1. In the Oracle Cloud Infrastructure Console, click the Cloud Shell icon in the Console header.
Cloud Shell opens in a "drawer" at the bottom of the Console. It provides a preconfigured VM that
you will use to access and set up your project.
2. If you don’t already have a key pair that you can use, follow these steps to create one:
A. Create the .ssh directory, if it doesn’t exist:
mkdir ~/.ssh
chmod 700 ~/.ssh
B. Create an SSH key pair in Cloud Shell:
ssh-keygen -t rsa -N "" -b 2048 -C "" -f ~/.ssh/id_rsa
3. Display your public key:
cat ~/.ssh/id_rsa.pub
4. Highlight the public key and use CTRL-C to copy it. You will use it in the next section.
5. Minimize Cloud Shell.

Perform the following steps in the Console.
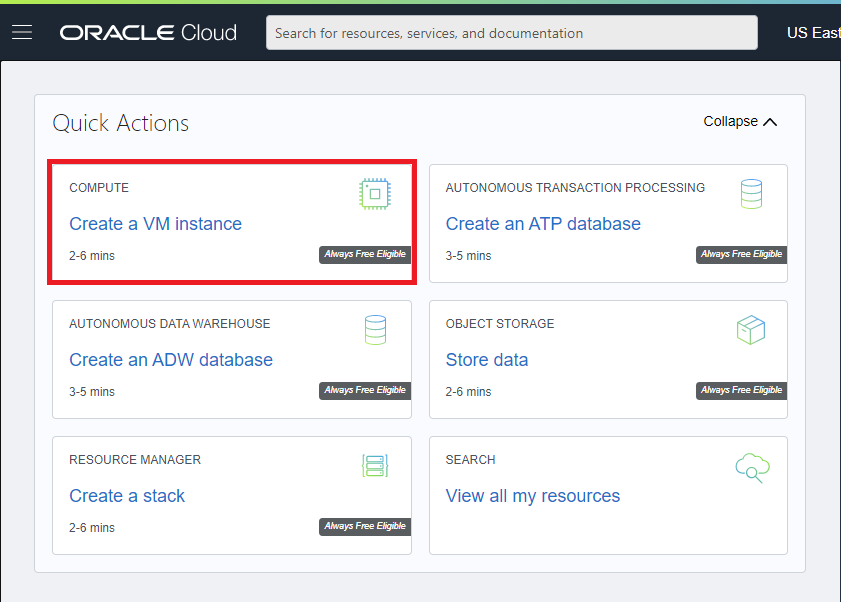
1. In the Quick Actions section of the Console dashboard, click Create a VM instance.
2. Enter a name or keep the default.
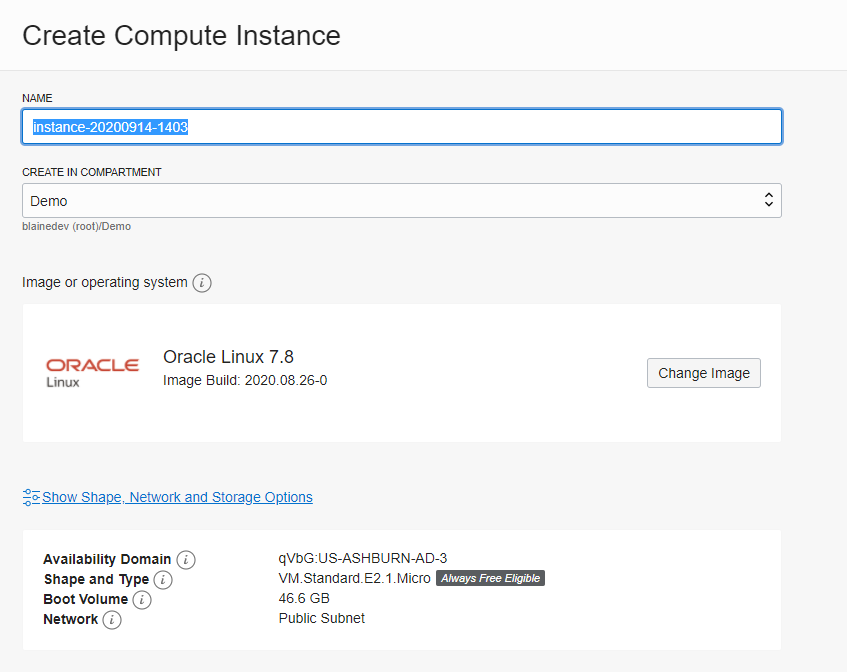
3. Accept the default values for all the other sections.
4. Scroll to the Add SSH keys section, and select Paste SSH keys.
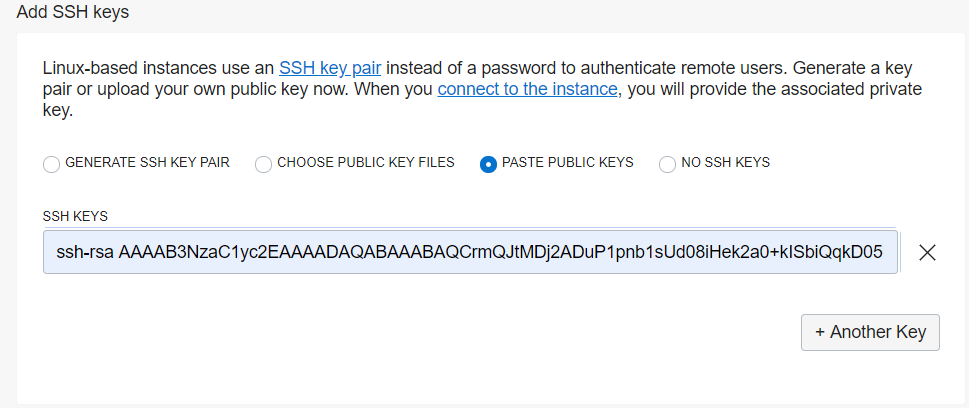
5. Paste your public key from your Cloud Shell.
6. Click Create.

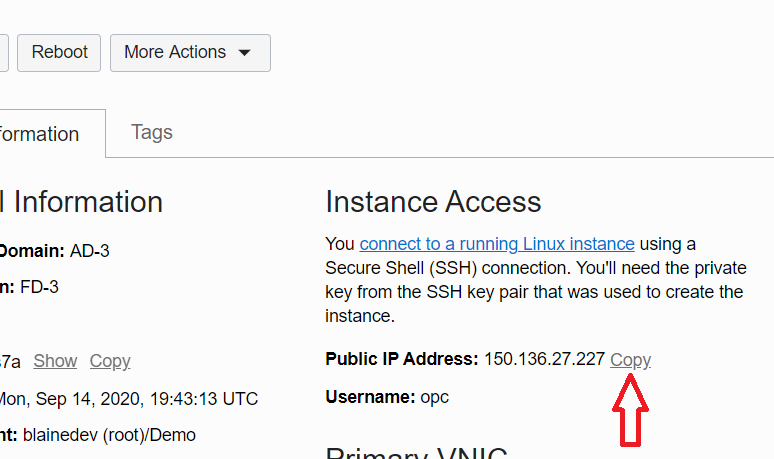
After your instance is running, perform the following steps to access it:
1. Copy the public IP address.
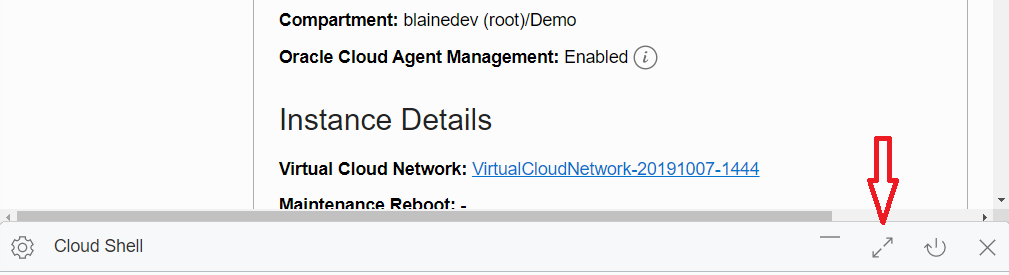
2. Maximize your Cloud Shell.
3. Use SSH to log in to the instance:
ssh opc@<yourPublicIP>
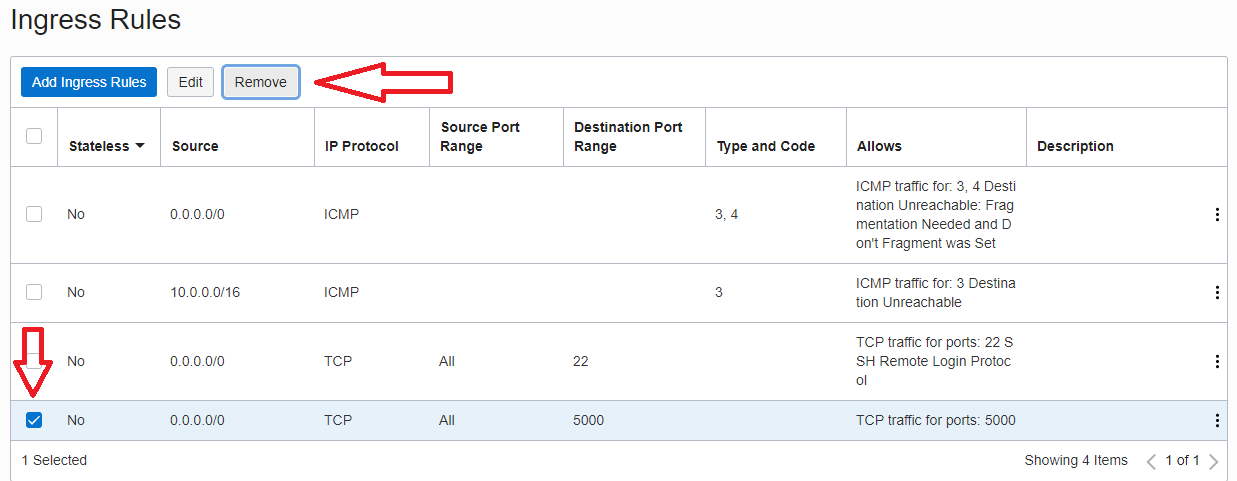
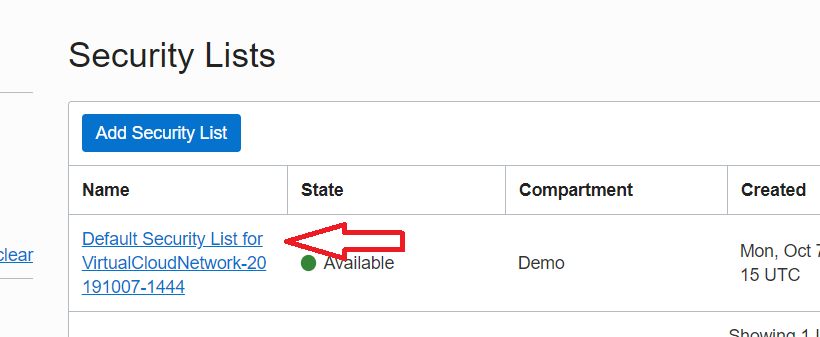
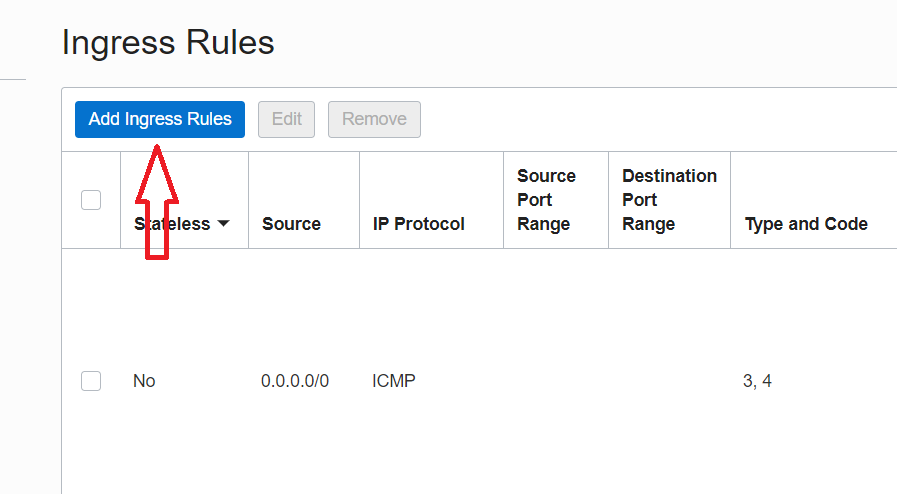
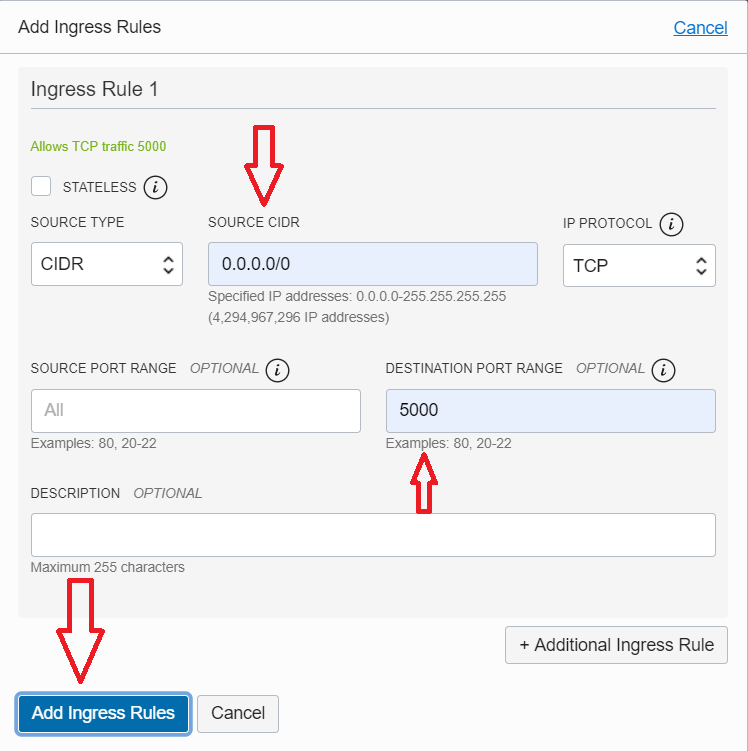
Run the following commands to open port 5000:
sudo firewall-cmd --permanent --zone=public --add-port=5000/tcp
sudo firewall-cmd --reload
1. Create a directory to work in:
mkdir flaskexample
cd flaskexample
2. Create and activate a Python virtual environment:
python3 -m venv venv
source venv/bin/activate
3. Install Flask:
pip install flask
4. Use nano to create your application:
nano flaskexample.py
5. Copy the following code and paste it into Cloud Shell (ensure that the indentation is correct):
from flask import Flask
app = Flask(__name__)
@app.route("/")
def index():
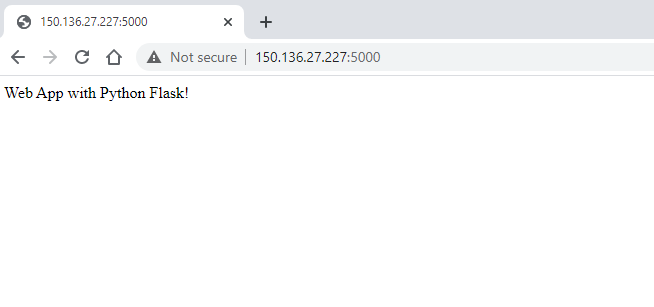
return "Web App with Python Flask!"
if __name__ == "__main__":
app.run(host='0.0.0.0')
6. Exit and save the file: press Ctrl-X, type y, and then press Enter.
7. Run the application:
python flaskexample.py
Open the application in a browser by entering http://:5000.