Latest content
Explore and discover our latest tutorials
Tech Articles from your friends at Oracle and the developer community.
MySQL HeatWave makes perfect sense if you’re running mixed transactional and analytics workloads in MySQL, or are moving data to a separate database for analytics. Instead of crafting complicated ETL pipelines to move data around, HeatWave—a built-in, high performance, in-memory query accelerator—accelerates MySQL performance by orders of magnitude for analytics and mixed workloads, without any changes to current applications. The service is built on MySQL Enterprise Edition, which allows developers to quickly create and deploy secure cloud native applications using the world’s most popular open source database.
Oracle designed MySQL HeatWave so developers could focus on their applications. You don’t have to manage two databases for OLTP and OLAP, and you can get real-time, secure analytics without the complexity, latency, and cost of ETL duplication. MySQL HeatWave is a fully managed service automating tasks such as backup, recovery, and database and operating system patching. “Worry less, crunch more,” as we say! MySQL HeatWave is developed and supported by the MySQL development team at Oracle.
To get started on OCI, we’ll create a VCN, deploy a MySQL DB System and create a HeatWave cluster, pull in some data and analyze it. If you’re looking for getting started with MySQL HeatWave on AWS, click here. That will show you how you can leverage MySQL HeatWave in a multi-cloud scenario. What a time to be alive!
Since we’re just getting started, let’s begin truly at the beginning and create a VCN with the proper access, then see how to create a HeatWave cluster in OCI.
In our example, we’re using a streamlined approach to set things up to use HeatWave.
Now let’s get started with the basics!
Create a VCN and configure for database access
Menu: Home > Networking > Virtual Cloud Networks
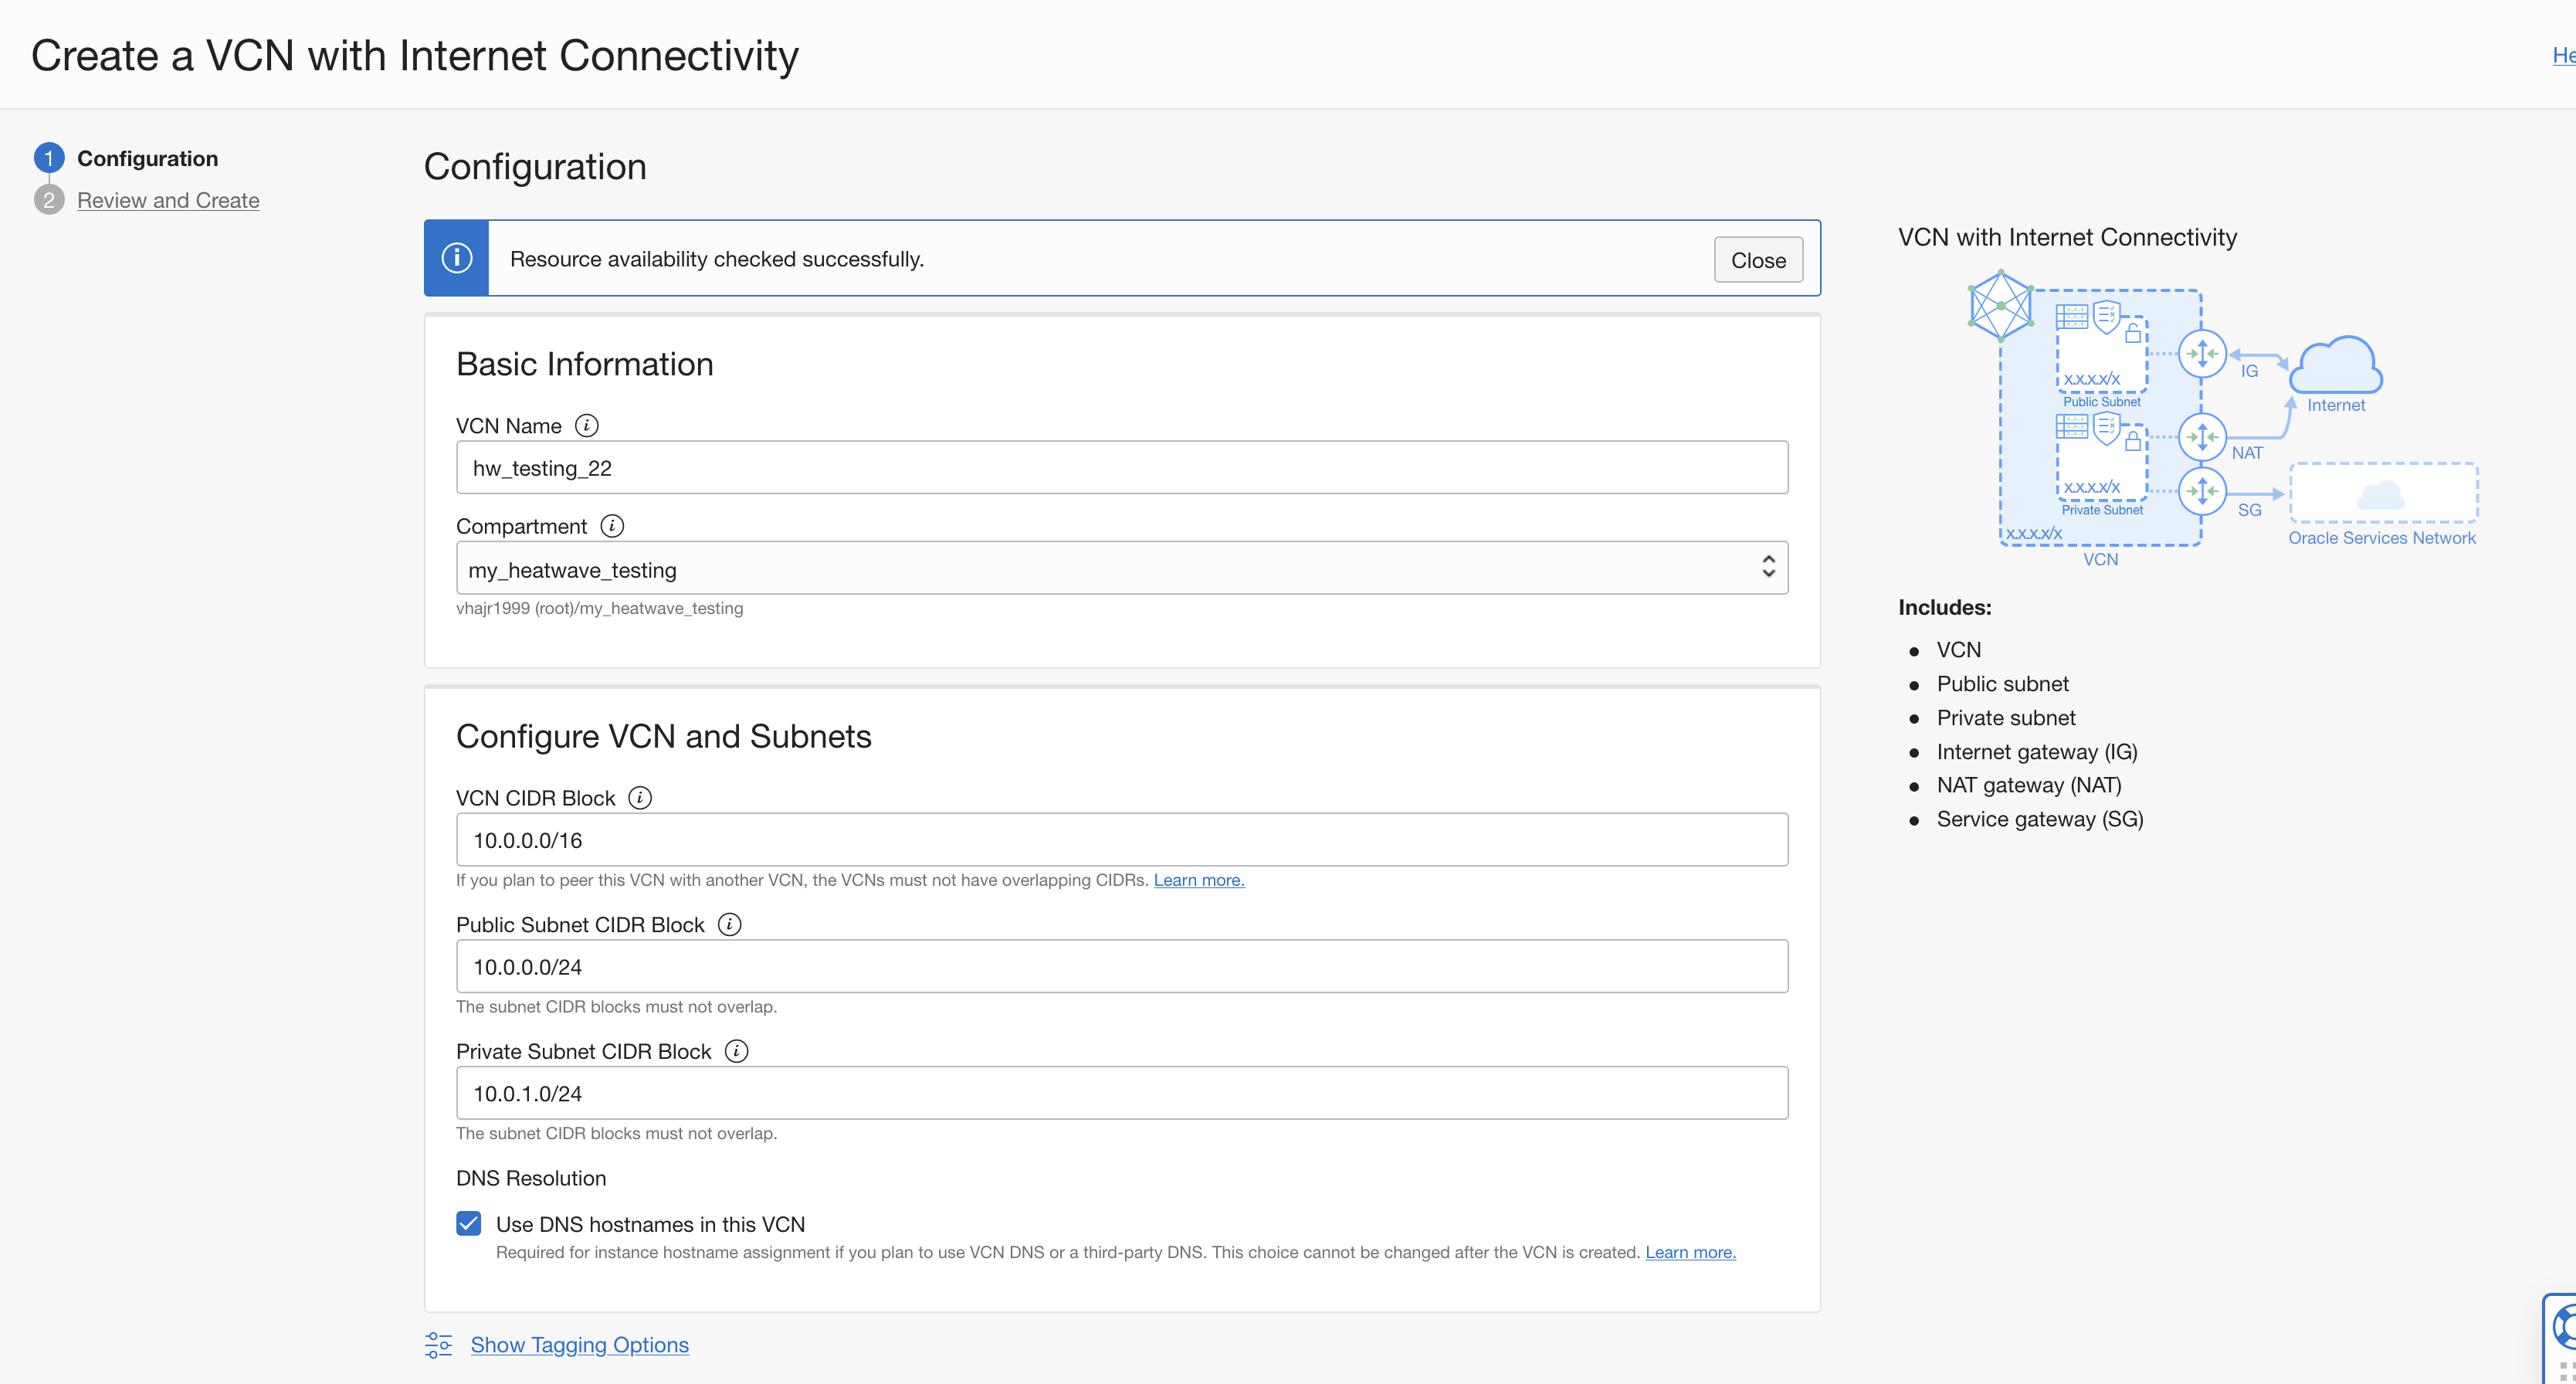
Create VCN and subnets using Virtual Cloud Networks > Start VCN Wizard > Create a VCN with Internet Connectivity. Of course you’ll get a private subnet as well.

The handy wizard will walk you through creating a network environment for your system, although there are lots of ways to configure this, let’s not get distracted. Notice that I chose the compartment I set up earlier, my_heatwave_testing – because that’s important!
Now let’s configure the VCN’s security list to allow traffic through MySQL Database Service ports. Click on the Private Subnet for the VCN you created and click the Security List for it.

Now click Add Security list.
We’ll add some ingress rules needed to enable the right ports, 3306 and 33060. Here’s the details:
Source CIDR: 0.0.0.0/0

  Destination Port Range: 3306,33060

  Description: MySQL Port
And click Add Ingress Rules.

Looking good so far!
Create users and groups (if you haven’t already)
If you’re already the admin, you can skip to the next step, but this is here in case you’re adding users to the OCI tenancy who might also need access to manage the DB System. We’ll need to set permissions and limit access somewhat, even in our “streamlined” example, but you can read all about managing groups here. Usually we’ll create a group, create policies, then add users to the group.
Let’s make friends with the Identity and Security options.
Create a group for your users; in my example I’ve created a group called MySQL Admins.
Add users to the group. In our example, we’ll add ourselves to this group.
Of course, for a group you’ll first create all the users you need, add those into the group needing access at the levels you determine, and rest assured that you can set them loose with appropriate access controls.
We allow access by setting policies, allowing one group to have full access (admins), and a group with limited access (database users, for example).
Sample policies:
Allow group MySQLAdmins to {SUBNET_READ, SUBNET_ATTACH, SUBNET_DETACH, VCN_READ, COMPARTMENT_INSPECT} in tenancy

  Allow group MySQLAdmins to manage mysql-family in tenancy

  Allow group MySQLAdmins to use tag-namespaces in tenancy
This is just making it possible to configure and administrate our compartment, and defines the scope of the access applied to the database instance.
For more on adding users and setting policies in OCI, refer to this documentation.
Create a DB System with HeatWave compatible shape
Menu > Databases > DB Systems
Create DB System
Notice that the system warns you if you haven’t already set up users, a VCN, and so on. That’s nice. Don’t forget to check which compartment you’ll create this in, again under List Scope on the left. Click Create DB System.
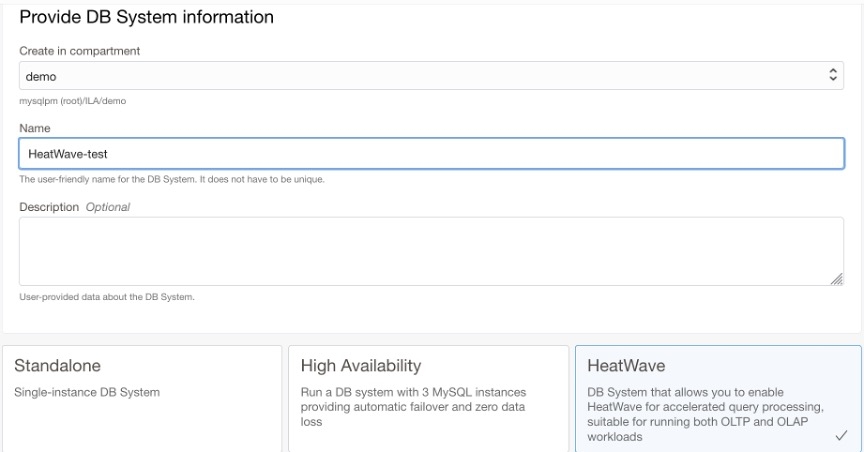
Double-check the compartment, give it a name, and select HeatWave (of course).
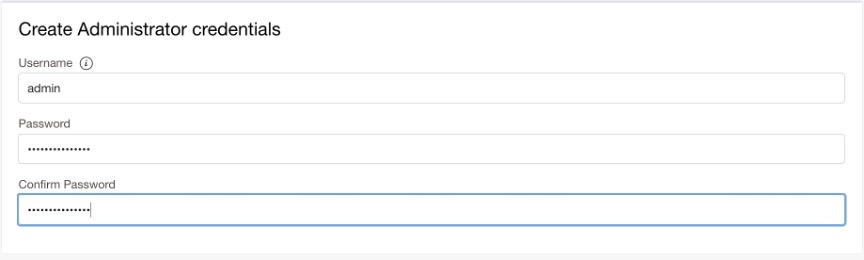
You’ll create admin credentials, be sure to save those somewhere handy but safe.
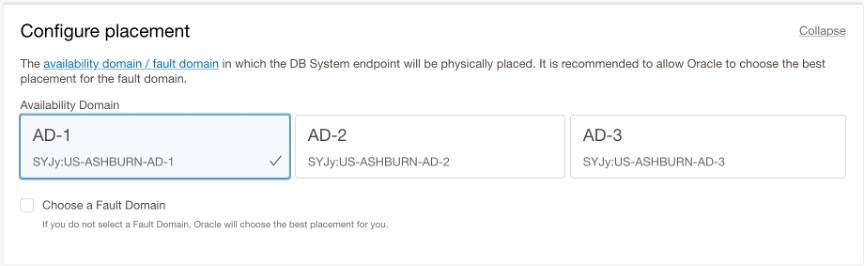
In Configure Networking, you’ll use the Virtual Cloud Network created earlier, but we’ll use the private subnet. Leave the default Availability Domain and go to Configure Hardware.
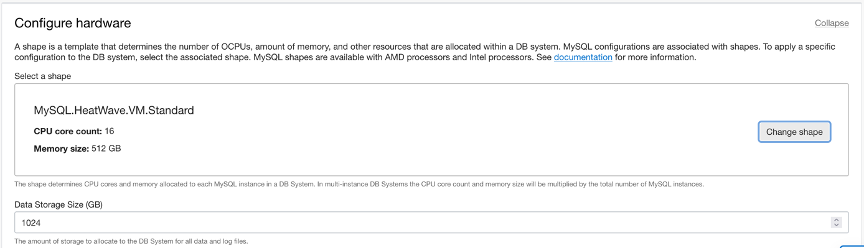
Confirm that in the Configure Hardware section, the selected shape is MySQL.HeatWave.VM.Standard.
Also:
- CPU Core Count: 16,
- Memory Size: 512 GB,
- Data Storage Size: 1024
In the Configure Backup section you may leave the default backup window of seven days.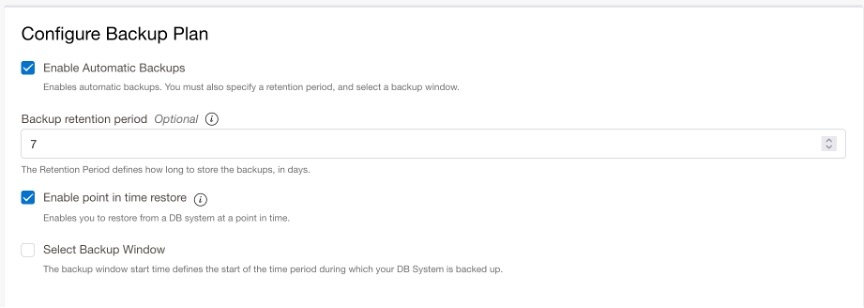
Keep scrolling and click Show Advanced Options.
Go to the Networking tab, in the Hostname field enter the exact name of your DB System. This will enable your cluster to register with DNS and allow you to access the host via fully qualified domain name (FQDN).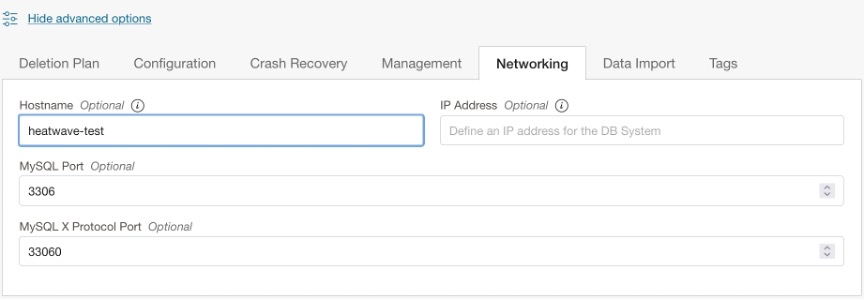
Make sure port configuration corresponds to the following:
- MySQL Port: 3306
- MySQL X Protocol Port: 33060
For this example, we are going to import data automatically during resource creation using data stored in an Object Storage bucket, made available via Pre-Authenticated Request (PAR).
If you would prefer to load the data using the MySQL Shell, you can skip this step.
Select the Data Import tab. You will be prompted to paste the URL for your PAR here. The object PAR URL needs to be a manifest file that can be created with the ociParaMifest option of MySQL Shell dump utilityHere. You can also use an Object Storage Bucket PAR or Objects with Prefix PAR.
Here is a sample link you can use to import Airport-DB for trial purposes.
https://objectstorage.us-ashburn-1.oraclecloud.com/p/zRBSs7nKURyZRcIoV4QlYhascC5gkZcJeQoBS8c2ssyEPID3PSDAnh73OMClQQH4/n/idazzjlcjqzj/b/airportdb-bucket-10282022/o/airportdb/@.manifest.jsonAll set… click Create!
This time a yellow hexagon will appear, eventually it’ll turn green and your DB System will be up and running. Make some tea or grab a glass of water, you’ve done a lot.
Connect and use MySQL Shell
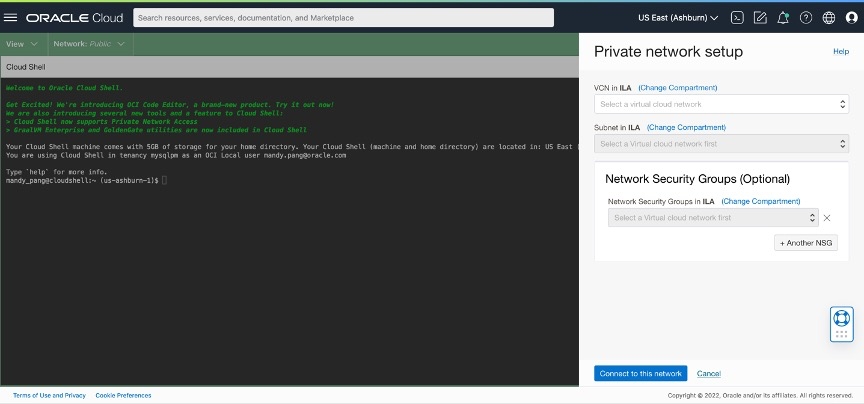
Let’s use the handy Cloud Shell to connect to MySQL and MySQL Shell. It’s a little Linux terminal embedded in the OCI dashboard (and it’s adorable). In the upper right corner, click the Cloud Shell prompt icon and a command line will open at the bottom of the browser. Make sure to configure Private Network Setup for your cloud shell, selecting the VCN that was created previously.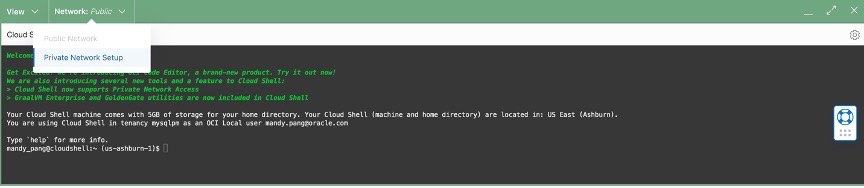
The cool thing is, MySQL Shell is already installed!
Once we create our HeatWave-compatible DB System, we’ll connect to it using the MySQL Shell. mysqlsh --host <DBSystemEndpointIPAddress> -u <Username> -p
You can learn more about MySQL Shell here.
More on connecting database systems here.
Import data
If you chose to import data during resource creation using the PAR option, you can skip this step. Else you can continue here to import AirportDB read more about that here (PDF).
In Cloud Shell:
wget https://downloads.mysql.com/docs/airport-db.tar.gz
  tar xvzf airport-db.tar.gz
This creates a single directory named airport-db, which contains the data files.
Start MySQL shell and connect to the MySQL DB System Endpoint:
mysqlsh _Username@DBSystem_IP_Address_or_host_Name
When prompted, enter the admin password you specified earlier. Once connected, you will use the Dump Loading Utility to import data.
MySQL>JS> util.loadDump("airport-db", {threads: 16, deferTableIndexes: "all", ignoreVersion: true})
It should take a few minutes to import, then you’re ready to move on!
Add HeatWave Cluster
HeatWave is really designed for big data sets, needing fast analysis, so even though I’m importing a mere sample database, you can load up as much as you like (provided you have allocated the storage for it). Plus, queries can be run in the cluster without offloading to a separate database. It may take a few minutes for the cluster to be created.
To get started, go to your DB System in the OCI Console: Databases > DB Systems > and click on your recently-created DB System.
Under Resources, you’ll see HeatWave (among other handy items), click that.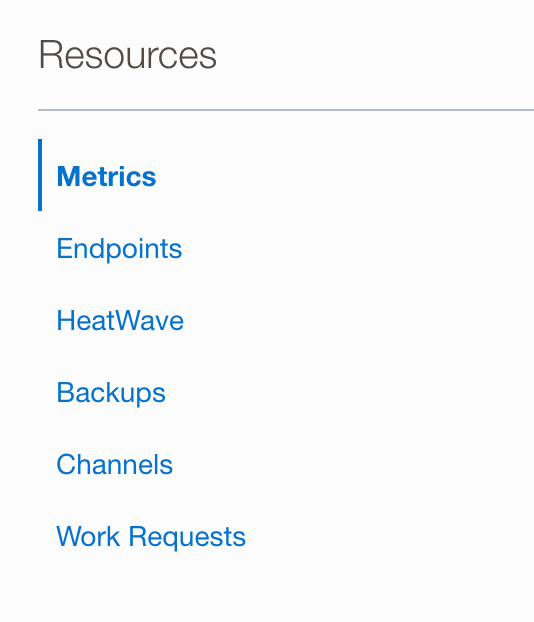
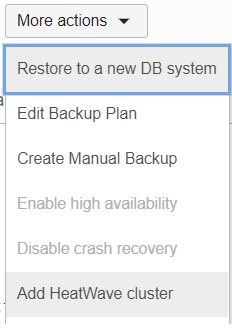
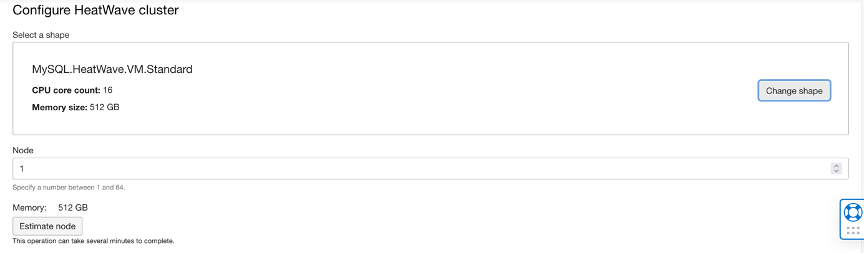
Of course, you want to Add HeatWave Cluster (using the button on the right, midway down the page), or click the More actions menu up top and select Add Heatwave cluster. Accept the defaults (16 CPU core with 512GB RAM and 1 node), then click the button to Add HeatWave cluster.
This takes a few minutes so you can go reheat that beverage while the cluster spins up.
Load data to HeatWave and Run Queries
Finally, the fun part! Once the HeatWave Cluster is running:
Start MySQL Shell and connect to the MySQL DB System’s endpoint:
$> mysqlsh Username@DBSystem_IP_Address_or_Host_NameChange the MySQL Shell execution mode to SQL:
MySQL>JS> \sqlChange to the airportdb database:
MySQL>SQL> USE airportdb;
  Default schema set to `airportdb`.Fetching table and column names from `airportdb` for
  auto-completion... Press ^C to stop.`
Load data from MySQL InnoDB to HeatWave
MySQL>SQL> call
  sys.heatwave_load(JSON_ARRAY(“airportdb”), NULL);
Use EXPLAIN to verify that the query can be offloaded to the HeatWave Cluster: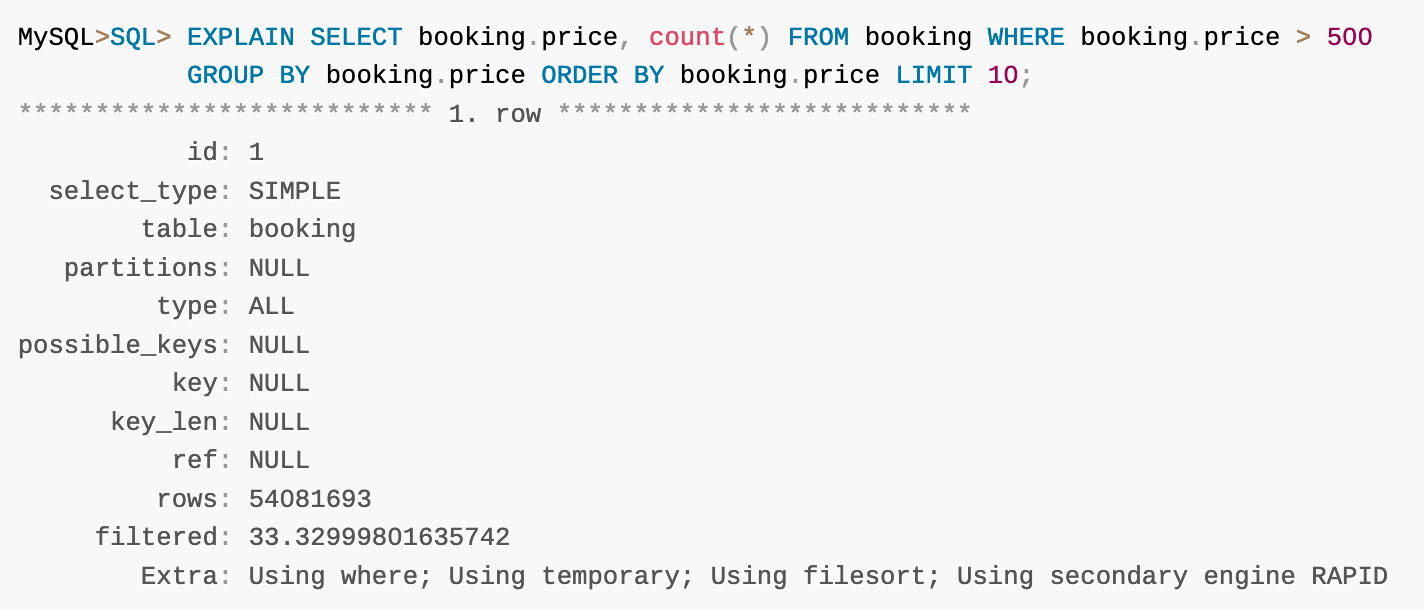
Note: If the query can be offloaded, the Extra column in the EXPLAIN output reports “Using secondary engine RAPID”.
After verifying that the query can be offloaded, run the query and note the execution time.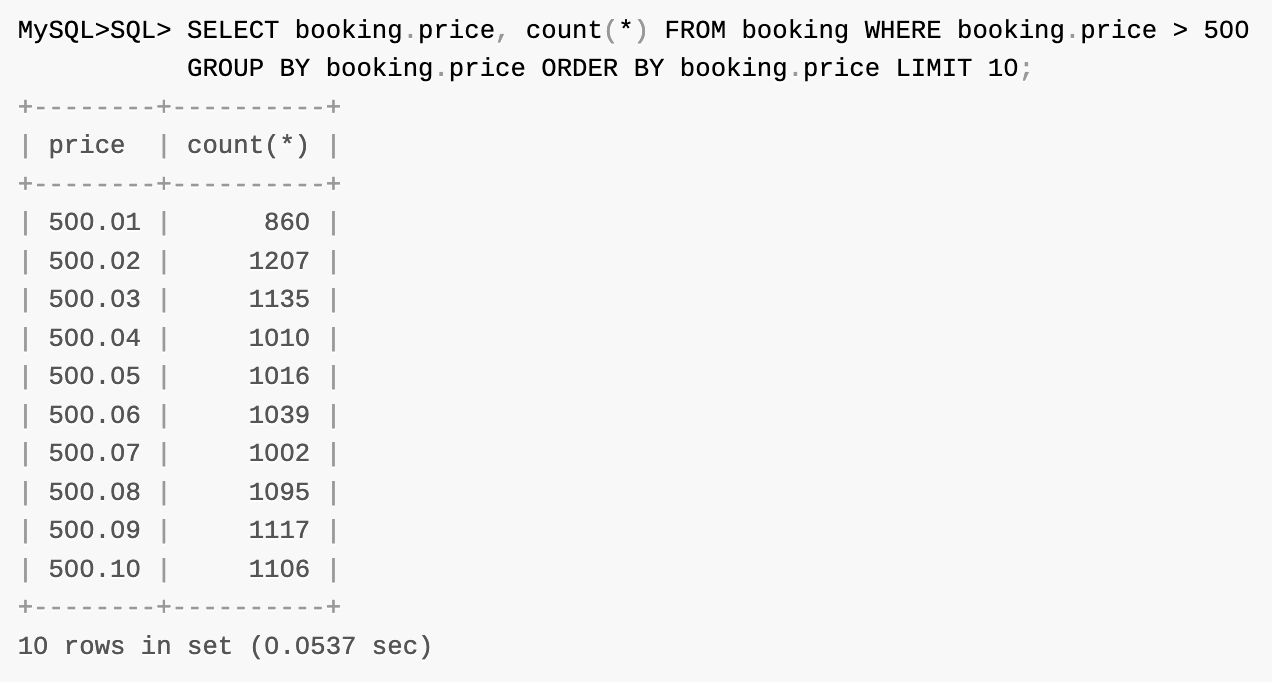
Now, let’s see how long this would take using the “plain vanilla” MySQL DB System. We do that by disabling use_secondary_engine variable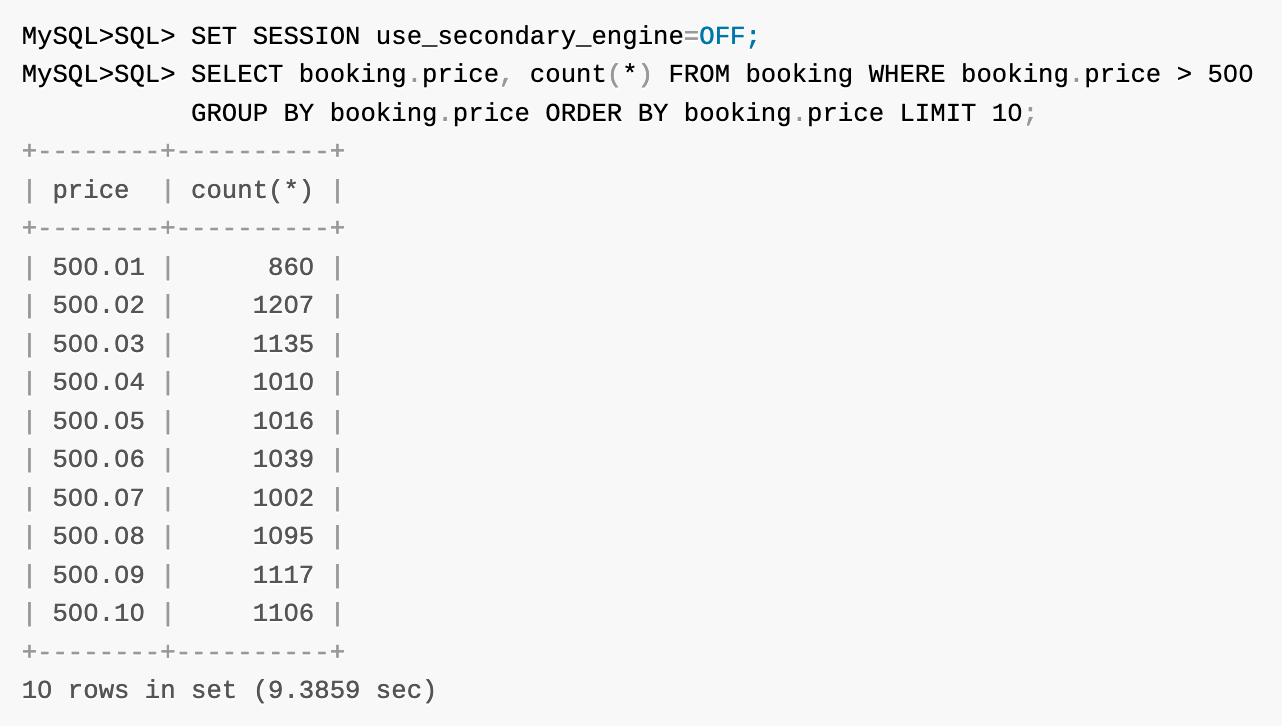
What we’ve done so far, all on OCI, is set up a Virtual Cloud Network with ports for MySQL use, set up a MySQL database, and add a HeatWave cluster. We then imported some test data and ran a couple of queries to see the speed of HeatWave versus the DB System on its own.
Want to know more? Join the discussion in our public Slack channel!


